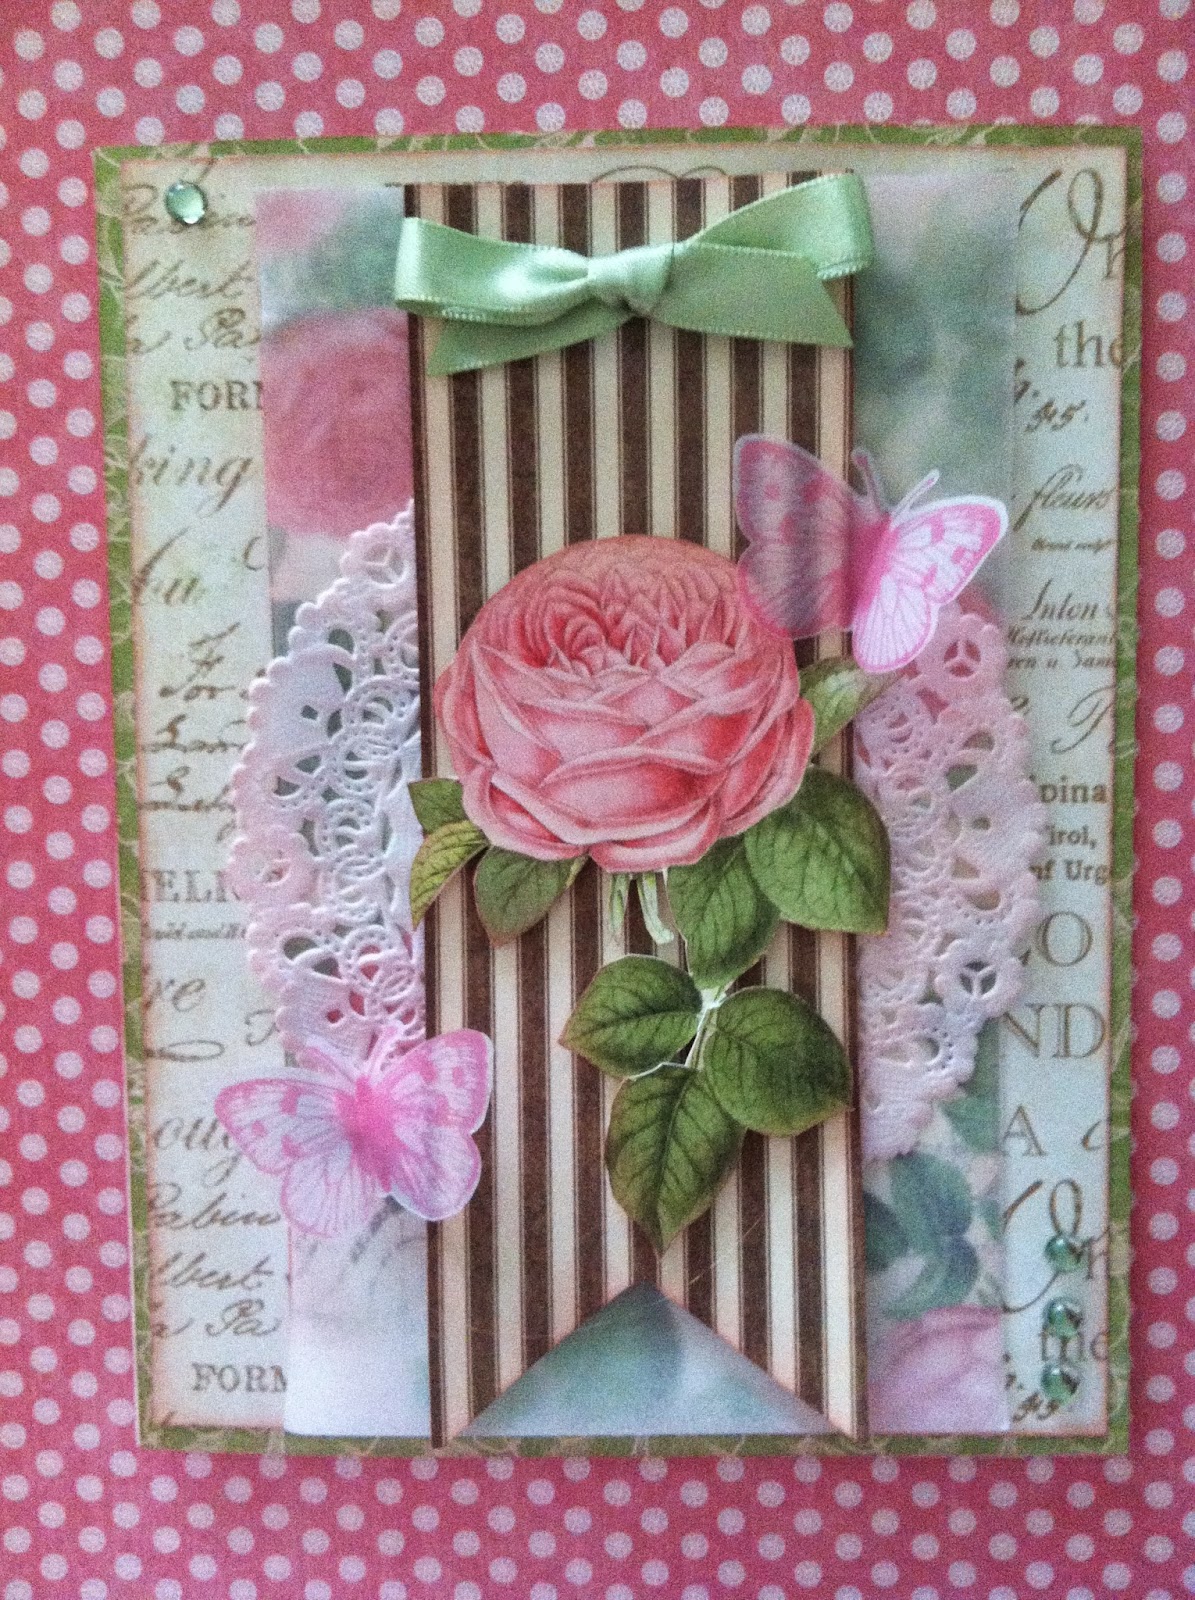
MAY has been a busy month for all of us with Mother's Day and graduation, and school coming to a close for the summer. I'm sure all of you have had at least one of these events come up, where you found yourself in need of a card. I know I did! That being said, I'm excited to share with you some of the projects that I have been working on this month!

One day I sat down with some floral stamps from Anna Griffin, Northwoods, and Penny Black, grabbed my Tombow and Distress Markers, a spray bottle full of water, and some watercolor paper, and set out to make a few cards.
 |
| Anna Griffin Stamps created these beautiful images. (Mine are wood stamps, but these are now available in polymer on HSN.) |
Here are the steps to this technique:
1. Select your stamps.

You will want to choose stamps that have broad areas for stamping. Whole images rather than using stamps with outlines. Some of the stamps above are from the Penny Black "Brushstroke" line. They work very well with this technique as you will later see.
2. Select your markers.

Find markers in the same color family, for example by using red, dark pink, and light pink you are able to shade your flower to look more natural. Darker ink in the areas that are darker, and lighter colors of the same shade where you want your image highlighted. Pick various colors of green for the leaves also, because like the flower, the leaves are never just one color.
 |
| You may not have every color from every manufacturer and that's ok! Here I am using Distress, Tombow and Memento watercolor markers. They all work well together! Use 2 or 3 colors of the same shade, as pictured above. You will get great results! Remember DO NOT use COPIC markers for this technique! They are alcohol markers and will NOT work! |
3. Have a water brush handy.
Sometimes you may need to touch up your stamped image and blend the colors. A water brush is just like a paintbrush, but you fill the pen up with water. I use these pens on a number of projects! (I have shown 3 different brands of water brushes in the photo at the top of this post. They cost about $9.)
4. Color the stamp.
Using your Tombow, Distress or Memento watercolor markers, color the image on the stamp to your liking. In my samples, you will see that I tried a number of different colors for my flowers. The sky is the limit when it comes to coloring these little babies! You may choose to make them realistic, or you might just decide to make them more whimsical and use crazy colors.
NOTE: It is important to start with the lightest color of ink and work your way to the darkest. This way you will not "contaminate" your light markers with the ink colors from the darker ones. Use the lighter colors where the light would hit the image. Think of where your light source is, then color accordingly. It will also give your flowers a more natural look.


5. Spray water mist on your stamp before stamping.
This step is important because the ink will dry before you are ready to stamp. By hydrating the stamp with a little mist, it brings the ink back to life, and will leave a beautiful watercolor image on the paper.
6. Use watercolor paper.
This style of stamping with markers and water will be prettier if you use watercolor paper, and leave a beautiful watercolor-style image on your paper. Use two spritzes at the most. More will cause your image to be runny and the image will not be crisp and clean.
7. Stamp and let dry.
You will want to press down for a few seconds to allow the ink to soak into the paper. Lifting off the stamp too soon could result in a less-than-finished look to your stamped image.
8. Touch up your image with a water brush.

In the event that you didn't get a perfect stamped image, don't fret. You can "fix" your stamped image by using a water brush, and pulling the ink where you want it to go. It also helps to soften the image, and you can fill in areas with the brush that didn't stamp properly. In the photo above, You will notice the stamp is one with lines rather than large areas for stamping. These generally don't work as well, and by using the water brush, I can blend in the ink to soften the image.
Here are some stamped images I created for a set of cards I made for the Artsy Addicts blog:


4. Color the stamp.
Using your Tombow, Distress or Memento watercolor markers, color the image on the stamp to your liking. In my samples, you will see that I tried a number of different colors for my flowers. The sky is the limit when it comes to coloring these little babies! You may choose to make them realistic, or you might just decide to make them more whimsical and use crazy colors.
 |
| If you look at the outer edge of the ink, you can see that I used a darker marker there, and went lighter as it went in. I used purple on the script, and highlighted each flower with two shades of red and pink, then used greens for the stems and leaves. I think it is gorgeous! |
 |
 |
| The leaves on this image look very natural due to the way I painted on the ink. I used a darker green where the veins of the leaf are. |
5. Spray water mist on your stamp before stamping.
This step is important because the ink will dry before you are ready to stamp. By hydrating the stamp with a little mist, it brings the ink back to life, and will leave a beautiful watercolor image on the paper.
6. Use watercolor paper.
This style of stamping with markers and water will be prettier if you use watercolor paper, and leave a beautiful watercolor-style image on your paper. Use two spritzes at the most. More will cause your image to be runny and the image will not be crisp and clean.
7. Stamp and let dry.
You will want to press down for a few seconds to allow the ink to soak into the paper. Lifting off the stamp too soon could result in a less-than-finished look to your stamped image.
8. Touch up your image with a water brush.
Here are some stamped images I created for a set of cards I made for the Artsy Addicts blog:
Once your stamped images are dry, you are ready to use them in a project!
I used mine to make a series of cards.
Try using different colors using the same stamp. (see below)
Here I stamped the exact same image but used blue one time, and pink the next time!
 |
| Even if your images are stamped using the same colors, you can make two completely different looking cards like the ones shown above! |
 |
| Tip: Stamping the envelope makes the card even that more special! |
To embellish the above card, I used Stickles glitter glue to add sparkle to my flowers. You can also stamp sentiments with Black Stazon ink if you like...Use your imagination!
Here are some of the finished cards I made using the stamped floral images.
 |
| On this card I used an Anna Griffin stamp, Tombow markers for the focal image, and Stazon ink for the sentiment.The background was created by matting the card with Bazzill card stock, and embossing it with Anna Griffin embossing folders. Two craft store birds were clipped on the card and I made a tiny bow from seam binding. |
 |
| This is a greeting card made with a Penny Black "Brush stroke" stamp. Penny Black has a whole line of stamps that work well with this technique. I used Memento markers and a die cut from Taylored Expressions. I used trims from my stash and some paper roses too! The ribbon is from May Arts and the roses are from Wild Orchid Crafts. |
 |
| This is the first page of a Moleskin Journal I have. It is not watercolor paper, so I spritzed much less water on the stamp before stamping. I used Tombow and Distress markers. |
 |
| More in the art journal...Penny Black brushstroke stamp on the left, Hero Arts butterfly stamp on right. Washi tape from Recollections was used on the top right side. |
 |
| This card was made with a stamp I got in the bargain bin. It is pictured above. The cardstock and little pearls are from Michaels and the envelope is from Hobby Lobby. I also used Stickles glitter glue to add sparkle. |
 |
| This is a Hero Arts stamp, and I used Distress Inks on the image. Here I am in the process of designing a card. I have just placed it on top of some patterned paper from PaperTrey Ink. |
 |
| Art Journal Pages at a glance. |
 |
| By using several different colors in the same color way, I was able to add dimension and texture to this floral image! This stamp is from Penny Black, who has such a wide range of floral stamps available! I love the way this turned out. |
Stamping with markers is fun and easy! Try it with a variety of images. I used flowers but any image will work...Remember to use stamps that have a large area in which to stamp, outlined stamps don't seem to work as well. And have fun!
*Be sure to leave a comment below, and from those comments someone will WIN a Penny Black stamp! Winner will be announced on June 11th!
Until next time, Happy Creating!
ReNae